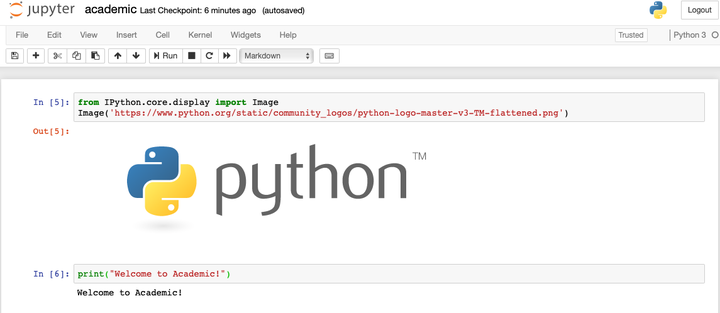
from IPython.core.display import Image
Image('https://www.python.org/static/community_logos/python-logo-master-v3-TM-flattened.png')

print("Welcome to Academic!")
Welcome to Academic!
Install Python and Jupyter
Install Anaconda which includes Python 3 and Jupyter notebook.
Otherwise, for advanced users, install Jupyter notebook with pip3 install jupyter.
Create a new blog post as usual
Run the following commands in your Terminal, substituting <MY_WEBSITE_FOLDER> and my-post with the file path to your Academic website folder and a name for your blog post (without spaces), respectively:
cd <MY_WEBSITE_FOLDER>
hugo new  --kind post post/my-post
cd <MY_WEBSITE_FOLDER>/content/post/my-post/
Create or upload a Jupyter notebook
Run the following command to start Jupyter within your new blog post folder. Then create a new Jupyter notebook (New > Python Notebook) or upload a notebook.
jupyter notebook
Convert notebook to Markdown
jupyter nbconvert Untitled.ipynb --to markdown --NbConvertApp.output_files_dir=.

# Copy the contents of Untitled.md and append it to index.md:
cat Untitled.md | tee -a index.md

# Remove the temporary file:
rm Untitled.md
Edit your post metadata
Open index.md in your text editor and edit the title etc. in the front matter according to your preference.
To set a featured image, place an image named featured into your post’s folder.
For other tips, such as using math, see the guide on writing content with Academic.
